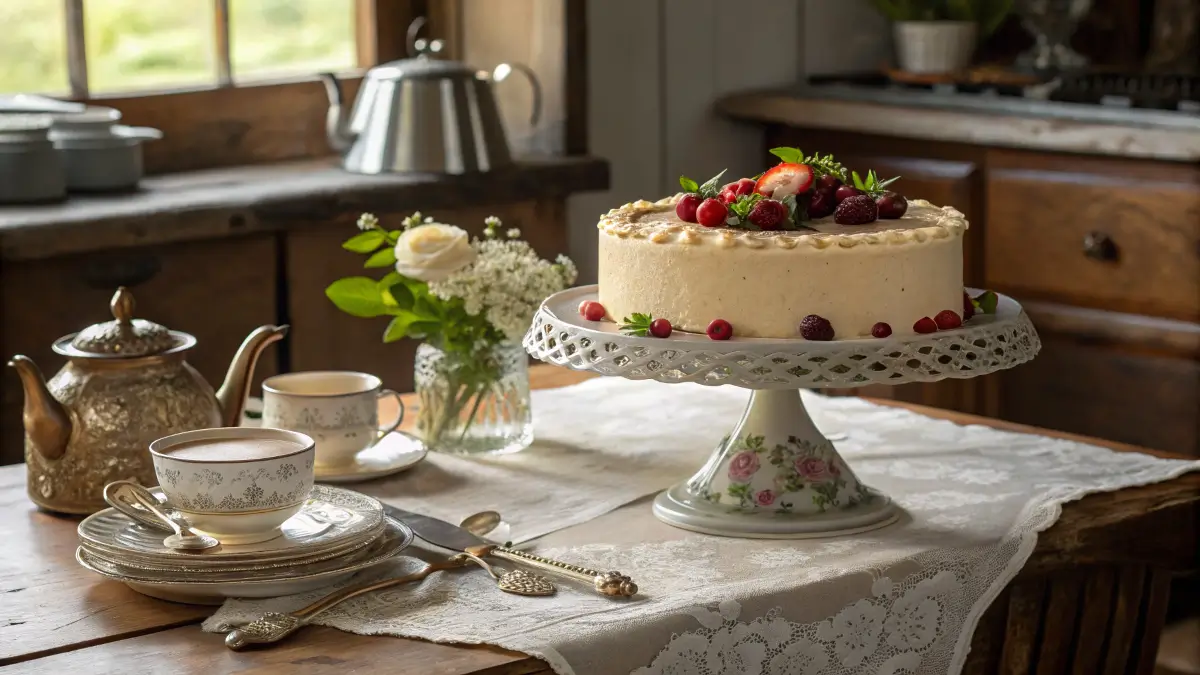
How to Make an 18th Century Queen’s Cake at Home
Have you ever wondered what it would be like to savor a true piece of history? Today, I’m excited to share my 18th century queen’s cake recipe—a delightful blend of traditional flavors and modern simplicity. I first encountered this historic cake recipe while exploring vintage culinary traditions, and it instantly captured my heart with its unique charm and versatility. Moreover, this heritage recipe not only offers a taste of the past but also brings practical benefits to your modern kitchen. Whether you’re an experienced baker or just curious to try something new, I invite you to join me on this delicious journey and add a touch of royal elegance to your table.
Table of Contents
The 18th Century Queen’s Cake Recipe: A Must-Try
The 18th century queen’s cake recipe offers an extraordinary way to bring a piece of history into your modern kitchen. Here are some key benefits that make this heritage recipe a must-try:
- Nutritional Value: This traditional dessert is crafted with wholesome, natural ingredients. By using carefully selected substitutes for pork, wine, or any alcoholic ingredients, you not only honor its historic roots but also enjoy a healthier treat, For more on the health benefits of natural ingredients, see Healthline’s Nutrition Basics.
- Ease of Preparation: Even if you’re new to baking, the step-by-step guidance makes this historic cake recipe accessible. You can quickly master the techniques that have been cherished for centuries, ensuring a delightful cooking experience.
- Versatility: With its adaptable nature, this recipe allows you to experiment with modern twists. For instance, you can easily switch ingredients to cater to gluten-free or vegan diets without sacrificing flavor.
- Cultural Connection: Embracing this traditional dessert connects you with a rich culinary past. It’s not just a recipe—it’s a story of royal elegance and time-honored techniques that have been passed down through generations.
- Practical Benefits: This recipe is designed to save you time and effort while still delivering a delicious outcome. Its clear instructions and proven tips help you avoid common pitfalls, ensuring that each bite is as delightful as the last.
By incorporating this historic cake recipe into your cooking repertoire, you’re not only expanding your culinary skills but also experiencing the unique joy of blending tradition with modern-day simplicity. Enjoy the process and let each step inspire your inner chef!
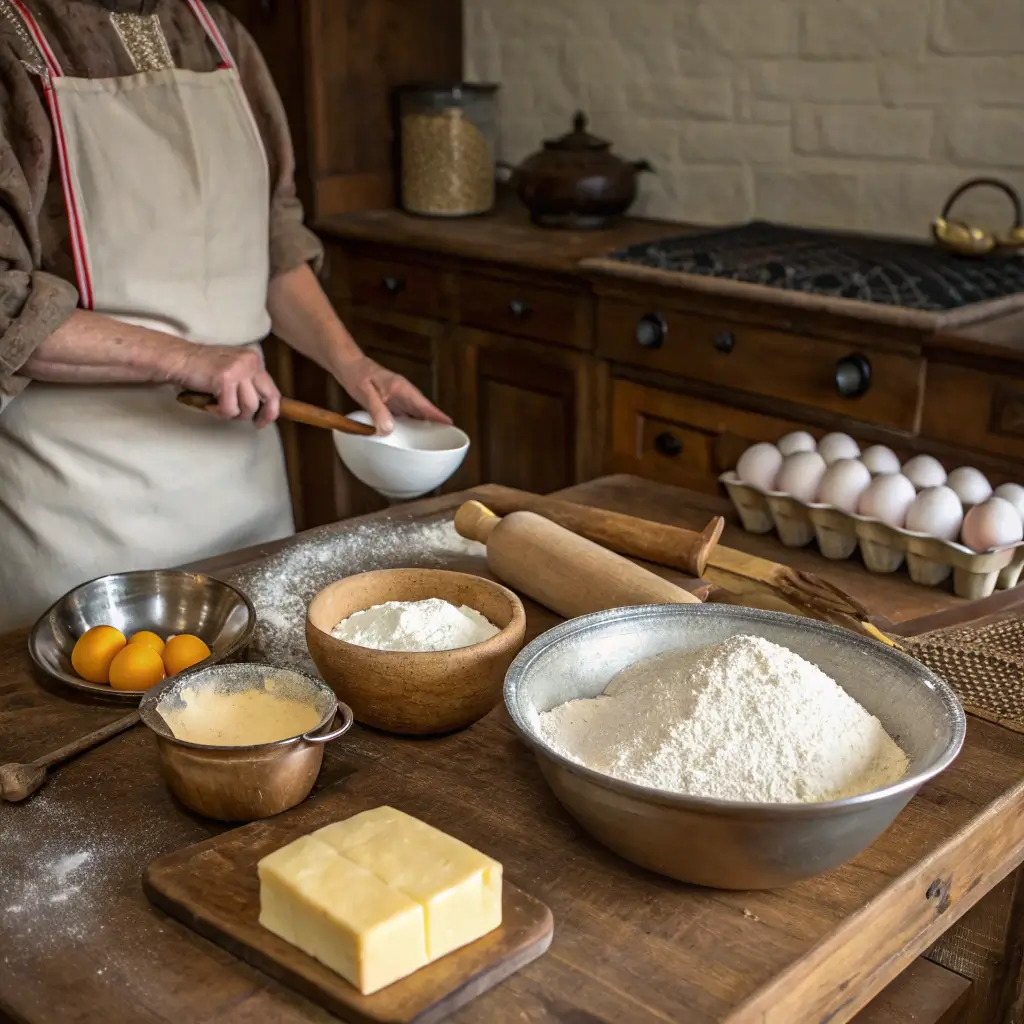
Ingredients List
Before you start baking, it’s important to gather all your ingredients. This authentic list has been carefully curated to maintain the traditional flavors while keeping the recipe accessible and modern-friendly. Whether you’re following the classic approach or opting for gluten-free or vegan alternatives, you’ll find substitutions that work perfectly.
- Flour: 2 cups all-purpose flour (Substitution: Use a 1:1 gluten-free flour blend for a gluten-free version.)
- Butter: 1/2 cup unsalted butter, softened (Substitution: Replace with vegan butter if you’re making a dairy-free cake.)
- Sugar: 1 cup granulated sugar
- Eggs: 3 large eggs (Substitution: For a vegan option, replace each egg with 1/4 cup of unsweetened applesauce or flaxseed meal mixed with water.)
- Milk: 1/2 cup whole milk (Substitution: Use your favorite plant-based milk, such as almond or oat milk, for a dairy-free alternative.)
- Baking Powder: 2 teaspoons baking powder
- Salt: 1/4 teaspoon salt
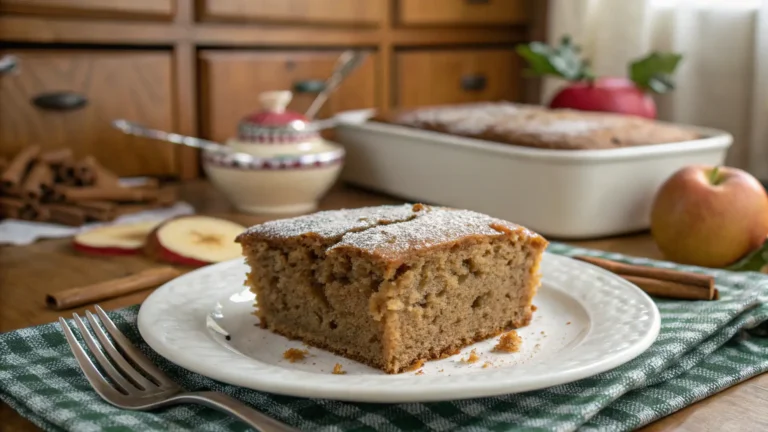
- Flavor Enhancers: 1 teaspoon vanilla extract, A pinch of cinnamon or nutmeg for a subtle warm spice note
Additional Notes: Ensure all ingredients are at room temperature for a smoother blend. For those following a strict no-alcohol guideline, all flavorings here are completely alcohol-free. Feel free to adjust the spices according to your taste preferences; a dash of extra cinnamon can elevate the historic flavor profile. Gathering these ingredients is your first step toward creating a dessert that not only tells a story but also delights your palate with every bite. Happy prepping, and enjoy the process as you bring a slice of history into your modern kitchen!
Step-by-Step Instructions
Follow these step-by-step instructions to create your historic dessert masterpiece. Each step has been designed to ensure clarity, ease, and an enjoyable cooking experience as you recreate the 18th century queen’s cake recipe in your own kitchen.
- Preheat and Prepare: Preheat your oven to 350°F (175°C) to ensure an even baking temperature. Grease and lightly flour your cake pan, or line it with parchment paper, so the cake releases effortlessly after baking.
- Mix Dry Ingredients: In a large bowl, sift together 2 cups of all-purpose (or gluten-free) flour, 2 teaspoons of baking powder, and 1/4 teaspoon of salt. This simple step helps distribute the leavening agent evenly, ensuring a consistent rise.
- Cream Butter and Sugar: In another bowl, beat 1/2 cup of softened unsalted (or vegan) butter with 1 cup of granulated sugar until the mixture becomes light and fluffy. Gradually add 1 teaspoon of vanilla extract and a pinch of cinnamon or nutmeg for an extra touch of warmth.
- Combine Wet Ingredients: Add 3 large eggs (or 3/4 cup unsweetened applesauce for a vegan option) one at a time, mixing well after each addition. Slowly incorporate 1/2 cup of milk (or your favorite plant-based alternative), stirring until the mixture is smooth and well blended.
- Integrate the Mixtures: Gradually fold the dry ingredients into the wet mixture. Use a spatula and mix gently to keep the batter light and airy. For example, add the dry ingredients in two parts, stirring after each addition to maintain a smooth texture.
- Final Preparations: Once combined, transfer the batter to your prepared pan. Smooth the top with the back of a spoon for an even surface. If desired, sprinkle a few extra spices on top to enhance the cake’s aromatic profile.
- Baking: Place the pan in the preheated oven and bake for 25-30 minutes. To test for doneness, insert a toothpick into the center—if it comes out clean, your 18th century queen’s cake is perfectly baked.
Each of these steps is crafted to ensure that you can confidently navigate through the process, resulting in a cake that not only pays homage to its historic roots but also delights your taste buds with modern ease. Enjoy the process and savor every moment of creating this timeless dessert!
Expert Pro Tips and Creative Variations
Here are some expert pro tips and creative variations to elevate your 18th century queen’s cake recipe and tailor it to your taste:
Expert Pro Tips:
- Room Temperature Ingredients: Make sure your butter, eggs, and milk are at room temperature. This simple step promotes a smoother, more consistent batter.
- Gentle Mixing: When incorporating the dry ingredients into the wet mixture, fold gently with a spatula. This technique preserves the 18th century queen’s cake’s light and airy texture.
- Accurate Measurements: Use measuring cups and spoons for precise ingredient amounts, as this historic recipe relies on balance to achieve the perfect rise and flavor.
- Test for Doneness: Insert a toothpick in the center of the 18th century queen’s cake after baking. If it comes out clean, you’re set; if not, give it a few extra minutes. Always keep a close eye on your oven!
Creative Variations:
- Spiced Twist: For an extra burst of flavor, try adding a dash of ginger or cardamom along with the cinnamon. This variation offers a warm, aromatic profile reminiscent of ancient spice markets.
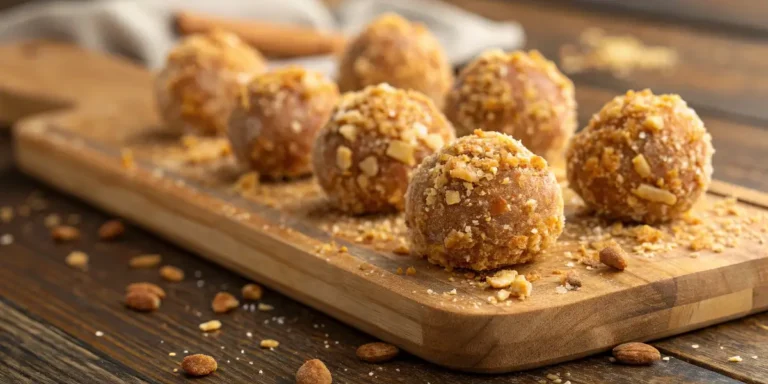
- Nutty Upgrade: Fold in a handful of finely chopped almonds or walnuts for added crunch and nutritional benefits. This not only enriches the flavor but also enhances the 18th century queen’s cake’s texture.
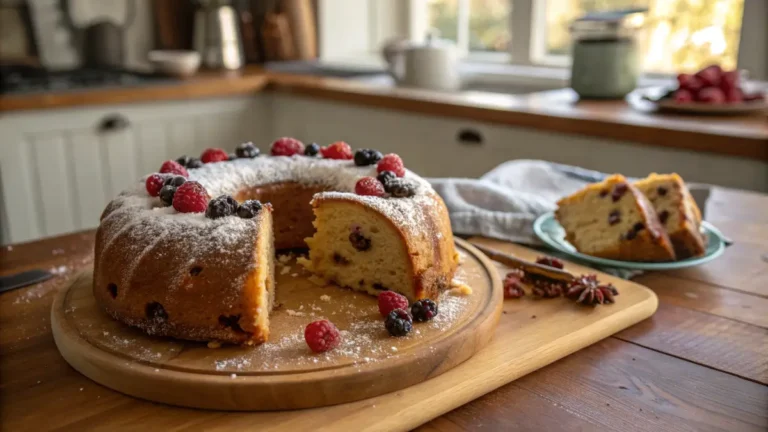
- Fruit Infusion: Mix in dried fruits such as raisins or currants, or top the 18th century queen’s cake with a compote of apples or pears. This fresh twist brings natural sweetness and a delightful burst of color.
- Vegan Variation: Opt for vegan butter and plant-based milk, and substitute eggs with flaxseed meal or applesauce. These adjustments make the recipe accessible while still delivering a rich, indulgent flavor.
- Gluten-Free Option: Use a gluten-free flour blend in place of all-purpose flour. This simple swap allows everyone to enjoy a slice of this timeless dessert.
By incorporating these tips and variations, you can customize your 18th century queen’s cake to suit your personal taste and dietary needs, all while preserving the authentic spirit of this historic dessert. Enjoy experimenting with these ideas, and let your creativity shine as you bring a royal touch to your kitchen!
Creative Serving Suggestions
Classic Presentation:
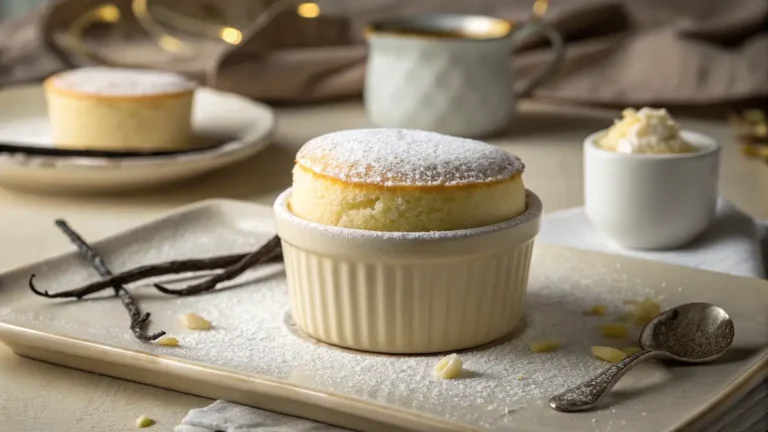
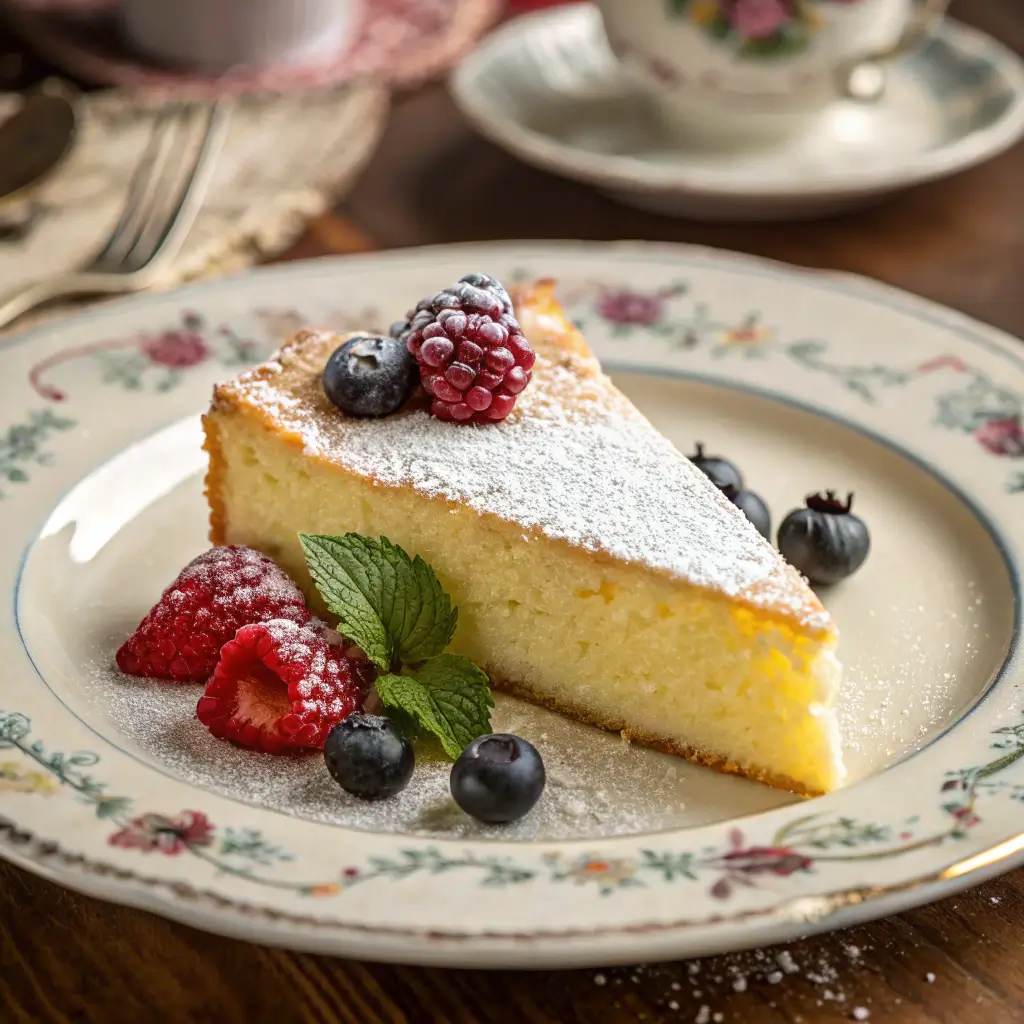
- Dust a light sprinkle of powdered sugar over the cake for an elegant finish.
- Serve each slice with a side of fresh berries or a dollop of whipped cream for a refreshing contrast.
Modern Twist:
- Pair your 18th century queen’s cake with a homemade fruit compote—try a warm apple or pear compote to highlight the cake’s historic flavors.
- Add a scoop of vegan or dairy ice cream for an indulgent treat that bridges tradition and modern tastes.
Beverage Pairings:
- Enjoy your slice with a cup of freshly brewed herbal tea, such as chamomile or mint, which complements the spices in the 18th century queen’s cake perfectly.
- Alternatively, serve alongside a refreshing glass of cold almond milk or a citrus-infused water for a light, palate-cleansing experience.
Festive Flair:
- For special occasions, garnish the 18th century queen’s cake with edible flowers or a few mint leaves to create a visually stunning presentation.
- Consider serving the 18th century queen’s cake as part of a brunch spread, paired with a medley of fresh fruits and a side salad for a balanced meal.
Each of these serving suggestions is designed to not only highlight the rich, historic flavors of the recipe but also to add a personal, modern touch to your dining experience. Enjoy these tips as you create a meal that’s as pleasing to the eye as it is to the palate, making every bite a celebration of culinary heritage.
Troubleshooting Common Issues
Navigating any recipe can come with its challenges, but don’t worry—I’ve got you covered with some practical troubleshooting tips for your 18th century queen’s cake recipe. Here are common issues you might encounter and straightforward solutions to ensure your historic dessert turns out perfectly every time:
- Issue: Dense or Heavy Cake – Ensure that your ingredients, especially eggs and butter, are at room temperature to help the batter mix smoothly. Gently fold the dry ingredients into the wet mixture; overmixing can lead to a dense texture.
- Issue: 18th century queen’s Cake Not Rising Properly – Check that your baking powder is fresh and accurately measured. Sift the dry ingredients to evenly distribute the leavening agent, ensuring a consistent rise.
- Issue: Uneven Baking or Browning – Preheat your oven thoroughly and use an oven thermometer to verify the temperature. Rotate the pan halfway through the baking time to promote even heat distribution.
- Issue: 18th century queen’s Cake Sticking to the Pan – Properly grease and flour your pan or line it with parchment paper. Allow the cake to cool slightly in the pan before removing it to retain its structure.
- Issue: Overly Dry Texture – Avoid overbaking by checking the 18th century queen’s cake a few minutes before the recommended time with a toothpick test. Consider adding a bit more milk or a dairy-free alternative if you prefer a moister 18th century queen’s cake.
By addressing these common problems with clear, actionable solutions, you can confidently tackle any challenges while preparing your 18th century queen’s cake. Remember, each tip is designed to enhance your baking experience and bring a touch of historical charm to your modern kitchen. Enjoy the process and happy baking!
In Conclusion
The 18th century queen’s cake recipe offers more than just a dessert—it provides a journey into culinary history with every bite. Here’s a quick recap to wrap up your baking adventure:
- Historic Charm Meets Modern Ease: Enjoy a cake that marries traditional flavors with practical, easy-to-follow steps, making it perfect for both seasoned bakers and beginners.
- Versatile and Adaptable: With options for gluten-free, vegan, and other dietary preferences, this heritage recipe adapts to your lifestyle while preserving its authentic appeal.
- Actionable Insights: From precise measurements to troubleshooting common issues, each tip is designed to ensure your 18th century queen’s cake turns out light, fluffy, and utterly delicious.
- Invitation to Experiment: Feel free to tweak the spices or add your creative twist—each modification brings a unique flavor, keeping the process engaging and fun.
Now that you have all the steps and expert advice at your fingertips, it’s time to bring a slice of the 18th century into your kitchen. Try the recipe, savor the experience, and share your results with friends or in the comments below. Happy baking, and enjoy every moment of this delicious journey through time!
Hungry for more delicious creations? Browse our site for more recipes and endless inspiration to spark your next culinary adventure!

18th Classic Queen’s Cake
Ingredients
Flour:
- 2 cups all-purpose flour Use a 1:1 gluten-free blend for a gluten-free version.
Butter:
- ½ cup unsalted butter softened (Replace with vegan butter for a dairy-free cake.)
Sugar:
- 1 cup granulated sugar
Eggs:
- 3 large eggs Substitute each egg with ¼ cup unsweetened applesauce or flaxseed meal mixed with water for a vegan option.
Milk:
- ½ cup whole milk Use almond or oat milk for a dairy-free alternative.
- Leavening & Seasoning:
- 2 teaspoons baking powder
- ¼ teaspoon salt
- 1 teaspoon vanilla extract
- A pinch of cinnamon or nutmeg for a subtle warm spice note
Instructions
Preheat and Prepare
- Preheat your oven to 350°F (175°C).
- Grease and lightly flour your cake pan, or line it with parchment paper for easy removal.
Mix Dry Ingredients
- In a large bowl, sift together the flour, baking powder, and salt.
- This helps distribute the leavening agent evenly for a consistent rise.
Cream Butter and Sugar
- In another bowl, beat butter and sugar until light and fluffy.
- Mix in vanilla extract and a pinch of cinnamon or nutmeg for extra warmth.
Combine Wet Ingredients
- Add the eggs (or applesauce substitute) one at a time, mixing well.
- Slowly pour in the milk (or plant-based alternative) and stir until smooth.
Integrate the Mixtures
- Gradually fold the dry ingredients into the wet mixture.
- Stir gently to keep the batter light and airy.
Final Preparations
- Transfer the batter into the prepared cake pan.
- Smooth the top and optionally sprinkle extra spices for added aroma.
Baking
- Bake for 25-30 minutes or until a toothpick inserted in the center comes out clean.
Cool and Serve
- Let the cake cool for 10 minutes before removing from the pan.
- Serve plain, dusted with powdered sugar, or topped with fresh berries.
Video
Notes
Want a richer flavor? Add ¼ teaspoon almond extract alongside the vanilla.
Storage: Keep in an airtight container at room temperature for 2 days or refrigerate for up to 5 days.
Frequently Asked Questions
Can I make the cake ahead of time or freeze it?
Yes, you can freeze the baked cake. Securely wrap it in plastic wrap and place it in an airtight container. When you’re ready to enjoy it, simply thaw at room temperature for a few hours. This method preserves the cake’s delightful texture and historic flavor.
How can I adapt this recipe for a vegan version?
To make a vegan variation, substitute unsalted butter with vegan butter and use a plant-based milk, such as almond or oat milk. Replace each egg with 1/4 cup of unsweetened applesauce or a flaxseed mixture (1 tablespoon flaxseed with 3 tablespoons water). These changes ensure the cake remains moist and flavorful without compromising its traditional charm.
What tips ensure the cake rises perfectly?
For an ideal rise, always use fresh baking powder and sift your dry ingredients to evenly distribute the leavening agent. Additionally, gently fold the dry mixture into the wet ingredients to maintain the light, airy texture crucial for this heritage dessert.
Is this recipe suitable for a gluten-free diet?
Absolutely. Simply replace the all-purpose flour with a high-quality gluten-free flour blend using a 1:1 ratio. This substitution allows everyone to enjoy a slice of history without sacrificing taste or texture.
How can I fix a cake that turns out too dry?
If your cake feels dry, consider reducing the baking time slightly or adding a touch more milk to the batter. You might also serve the cake with a drizzle of a dairy-free syrup or a dollop of whipped cream to add extra moisture and enhance the overall experience.
Is it possible to try different spices in this recipe?
Certainly! While the classic recipe features vanilla, cinnamon, and a hint of nutmeg, feel free to incorporate other warm spices like cardamom or ginger. Experimenting with spices can add a unique twist while still honoring the cake’s 18th-century roots.
These FAQs address common concerns and offer actionable insights, ensuring your 18th century queen’s cake recipe is both enjoyable and foolproof. Happy baking, and may your culinary journey be as delightful as the history behind this timeless dessert!